


Control Rig Dynamics : Add Physics to Any Rig in Minutes

Updated: Jul 30
Unreal Engine 5.8 • Animation & Physics • Advanced Level
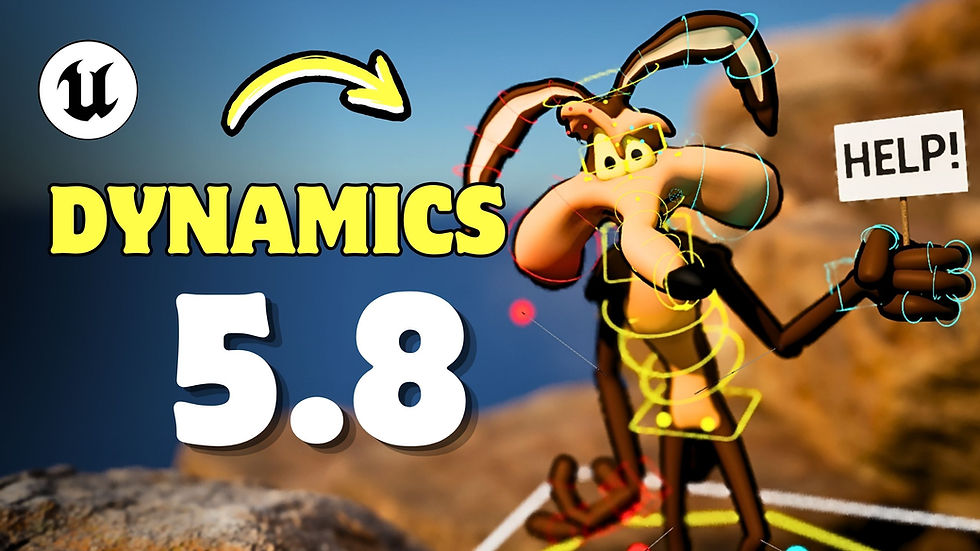
Unreal Engine 5.8 introduces Control Rig Dynamics, a new way to add procedural physics to virtually any character without replacing your existing IK/FK setup. Tails, ears, cheeks, spines everything can now benefit from dynamic motion with just a few nodes.
Complete demonstration of the Control Rig Dynamics system on a full character setup.
What Is Control Rig Dynamics?
Available in preview in Unreal Engine 5.8, Control Rig Dynamics is a physics simulation layer designed to integrate directly into a character's Control Rig. While the older Rig Physics system required a more complex setup, Dynamics takes a chain-based approach: define a root bone, and the system automatically simulates all its descendants.
The key advantage is that the simulation is layered on top of your existing rig logic. FK and IK controls continue to function normally while physics is applied procedurally on top. The simulation can even be enabled or disabled through a simple boolean channel.
The Three Core Nodes
The entire system revolves around three essential nodes found in the Rig Dynamics category.
Spawn Dynamic Solver
Creates the physics solver. Typically placed in the Construction Event, it defines gravity, simulation space, drag forces, and kinematic thresholds.
Spawn Dynamics Chain
Defines the bone chain to simulate from a chosen root bone. This node contains all behavioral settings, including stiffness, damping, collisions, and curves.
Step Dynamics Solver
Placed in the Forward Solve, this node advances the simulation every frame. Without it, nothing will move at runtime.
Particle Properties: Fine-Tuning the Behavior
Most of the physical behavior is controlled through the Particle Properties section of the Spawn Dynamics Chain node.
Parameter | Purpose |
Radius | Collider size for each simulated particle |
Mass | Influences interactions between physical elements |
Simulated / Kinematic | The first bone is kinematic by default; all others are simulated |
Gravity Multiplier | Scales local gravity. Negative values create anti-gravity effects |
Stiffness | Controls rigidity and responsiveness. 0 = very soft, 25+ = very stiff |
Damping Ratio | Determines how quickly motion settles. Lower values create longer oscillations |
Drag Force | Air resistance, similar to Niagara drag forces |
Angle Limits | Restricts rotation angles to prevent extreme deformations |
All these parameters can be modified at runtime through the Forward Solve by targeting chain particles with a Set Dynamic node and a For Each loop.
This means you can animate the physics itself. For example, an animator could keyframe the Gravity Multiplier of an ear to create a highly specific dramatic effect.
Chain Curves: Where the Real Power Lies
Chain Curves allow different values to be applied along a single chain—without custom logic and without additional nodes.
Every major parameter, including stiffness, gravity multiplier, and damping, has its own curve. The X-axis represents the normalized position along the chain:
0 = Root
1 = Tip
The system automatically interpolates values between curve keys.
For example, setting stiffness to 1.0 at the root and 0.1 at the tip creates a chain that remains firm at the base while becoming increasingly flexible toward the end exactly how a real tail or animal ear behaves.
Switching interpolation from Linear to Auto often produces even more natural results.
To visualize these values in real time, enable Particle Value Display in the Step Dynamics Solver node. The calculated values will appear directly on each particle in the viewport.
Colliders and Confiners
To prevent dynamic chains from intersecting with other parts of the body for example, a tail clipping through a leg Colliders can be added directly from the Spawn Dynamics Chain node.
Available collider types include:
Capsule
Box
Plane
Position and size are controlled through the Radius, Length, and Transform settings.
Confiners
Confiners define spatial boundaries for simulated particles.
Instead of moving freely, particles remain constrained within a predefined volume. This is particularly useful for secondary motion elements that should never stray too far from their resting position.
Tutorial Fur & Control Rig : https://www.projprod.com/control-rig-fur
Unreal Engine Trainings : https://www.projprod.com/courses
Want to see it in action on a complete character?
Watch the full video demonstration →

Comments